How To Cast On (Knitting Tutorial)
23rd August 2016
For those of you who followed my previous blog (the knitted cupcake) will recognise this tutorial.

For those of you who followed my previous blog (the knitted cupcake) will recognise this tutorial.
One thing you should do before even thinking about knitting, is to find your wool. There are two ways to do this:
1. Find a knitting pattern and choose a wool that meets the requirements; i.e if it's Aran wool, or if it needs 4mm needles etc.
2. Find a wool you really like and then get needles and a pattern to match.
I usually do the latter, and then follow a combination of various knitting patterns to produce something slightly unique but that has been inspired by others.
My method of casting on is fairly easy, it requires two knitting needles that match the wool requirements that you will be using.
Casting on:
Abbreviations:
- LN = Left Needle
- RN = Right Needle
- WY = Working Yarn
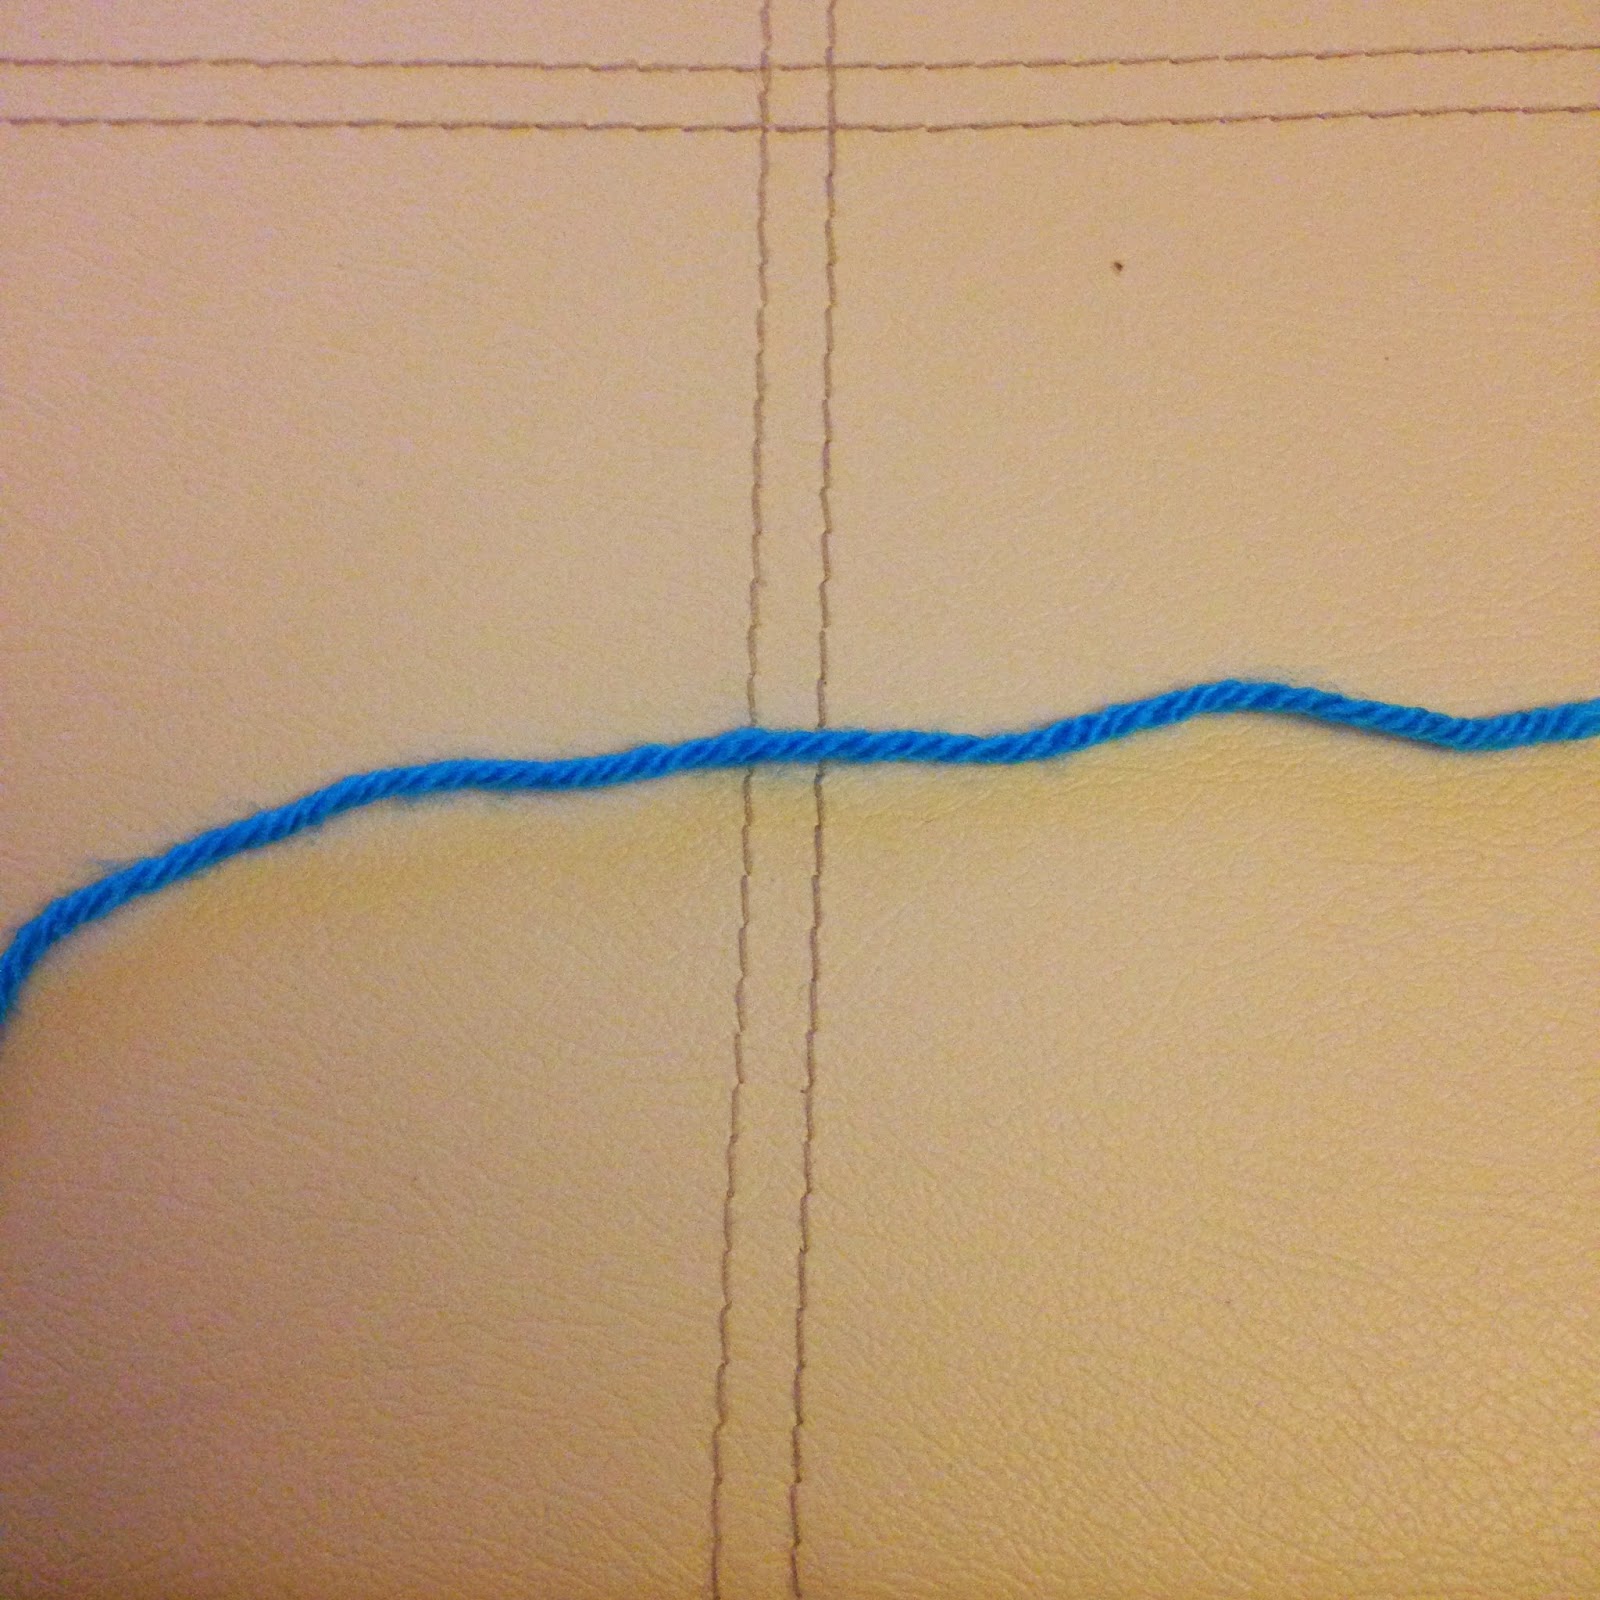
I am using 6mm straight knitting needles and Cygnet Chunky wool blend in turquoise.
Creating a slip knot:
To be able to cast on, you need to create your first stitch. My preferred method is this to create a slip knot using my fingers. First, get a piece of yarn that is about 10 cms long.

Place the yarn over your finger like so:
Then take the end of the yarn and wrap it over your finger, towards the back of your hand, to make a cross.
Pull the first loop up to loosen it slightly.
Next, pull the second loop through the first loop.
Continue to pull until it slips off your finger.
Keep pulling until the knot tightens like so:
Pull the WY to tighten, and pull the shortest piece of yarn to loosen.
And you have created your slip knot.
Casting On: Method 1
This method is called the knit cast on.
Take your slip knot, and place it onto your LN; pull the yarn to tighten it, but don't make it too tight otherwise you won't be able to put your needle through the stitch. So this is your first stitch!
Next, you need to take your RN and place it through the first stitch by weaving it under and then through the first stitch. The needles should then make a cross.
Take the WY and wrap it behind the two needles
And then put it between the two needles.
Next, take your RN and pull it back out of the stitch but don't pull it out completely.
When the needle comes close to coming out of the stitch, slowly turn it towards you, and push forward to make another cross with your needles, but with the RN in front of the LN
Once the RN has come back through the stitch, pull the RN away and to the right like so:
Now you need to place the stitch that is currently on your RN back onto the left needle. To do this, you need to hook the stitch on to the LN:
Weave your LN down through the stitch on the RN
Remove the RN.
And you have cast on your second stitch!
Casting On: Method 2
This next method is called the e-loop/backwards loop. It only requires one needle.
Take your WY and place it in your right hand.
Hold your finger and thumb like so:
Place your finger and thumb behind the WY
Move your hand in a circle so that the finger and thumb catch the WY like so:
Weave the LN through the WY that is currently between your finger and thumb and take your finger and thumb away.
And this is the e-loop method! I find this method to be the quickest and easiest way of casting on. It leaves a much slimmer and tighter row of stitches than the knit cast on method.
Repeat either one of these methods until you have cast on enough stitches.


Even though I do think knitting is cool, I've tried it once and it's not for me (or for my patience). But the tutorial was very clear and helpful, thanks!
ReplyDeletexo Zoë
(www.daisiesforzoe.blogspot.com)
Give it another go! It is difficult at first, I found it hard but it's easy once you get into it :) thank you for your comment!
Delete